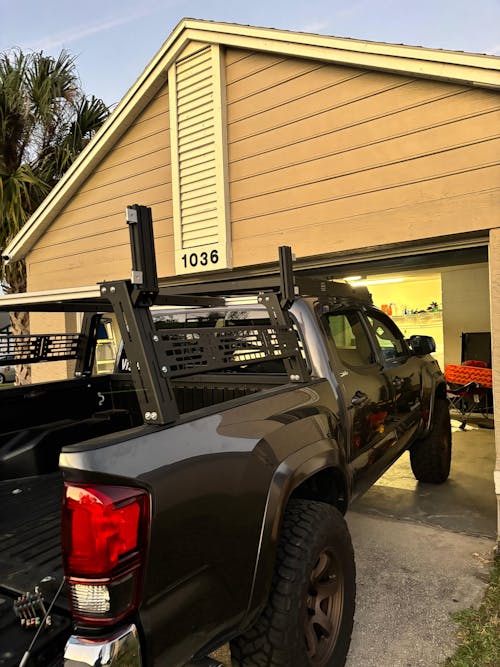
I had been looking at 270 awnings for awhile when all of sudden OVS's Nomadic 270 XD awning popped in my search. The awning wasnt released yet, but OVS is a highly reviewed company that makes quality parts and carries a solid warranty, so I decided to pre-order one from live more outside and take my chances. I mean, the XD awning has a lifetime frame warranty. That is pretty stellar. 6 years on the fabric. What the fabric this is made out of is definitely different than any other rooftop awning I've ever seen. Zero light gets through this material that I've been able to detect. It's pretty amazing.
Install was easy and fairly straight forward, took me about 45 minutes to an hour to get the brackets mounted to the awning and the awning mounted where I wanted it, by myself. However, I'm a big dude that is mechanically inclined. I probably wouldn't suggest just anyone attempt to mount this by yourself unless you are competent that you can handle this length and weight of an object from below it or off to the side while standing on a tire or some such. You could quite possible drop this off the side of your roof rack.
I used stainless m8x25 T slot studs that I have by the dozens for every connection point instead of the hex hardware that was provided. There is twice as much contact surface available on them for grip of the roof rack and they slide much better than hex bolts in the track. Of note, 16mm and 20mm lengths are too short for a washer, a lock washer and the nylok nut if you are replacing the stock hardware with T slot studs. 25mm is what you want.
The awning I received came with three mounting brackets. I'm sure three would have been fine, really two would probably be fine, but my tendency to overkill everything prevailed and I ordered an extra set of brackets (which came with everything by the way; 2 nrackets, stakes, tie down rope, all hardware, locking tie downs for the awning edges to secure to the roof rack) so that the awning is attached to my roofrack by 4 brackets.
Deployment is simple. Rolling it up to put it away is fairly simple as well. Zipping up the bag without some piece of flap of the awning getting stuck in the zipper is a bit ridiculous, and the zipper seems to be a bit off when the two come together, like it wasnt zipped properly from the factory. You've gotta roll this thing up TIGHT to begin with, as there is not alot of room in the cover. Fighting not letting some part be zipped up is super unfortunate. You just have to keep your fingers up there, right in front of the zipper, making sure nothing gets in the way, while you pull on it with the other hand. All while trying to squeeze the zipper sides together so you can actually zip it shut. Thus is definitely the worst part, but I'm sure I'll get a better handle on it (hopefully).
You will also want to ensure that you have all of the velcro enclosures closed around the awning arms. Mine did not come attached (other than one on each arm that holds the awning poles) but it's easy to do so. Just a heads up of something needing done when it's brand new.
My experience with Nathan and Live more outside was fantastic. Nathan was always able to provide an update to me as these awnings seemed to be pushed back little by little as far as when they would be released. He was always very responsive and extremely easy to touch base with. All in all, an excellent experience with and excellent vendor for a pretty excellent product (that damn zipper thing). I would definitely make the same choice if I had it to do over again.